
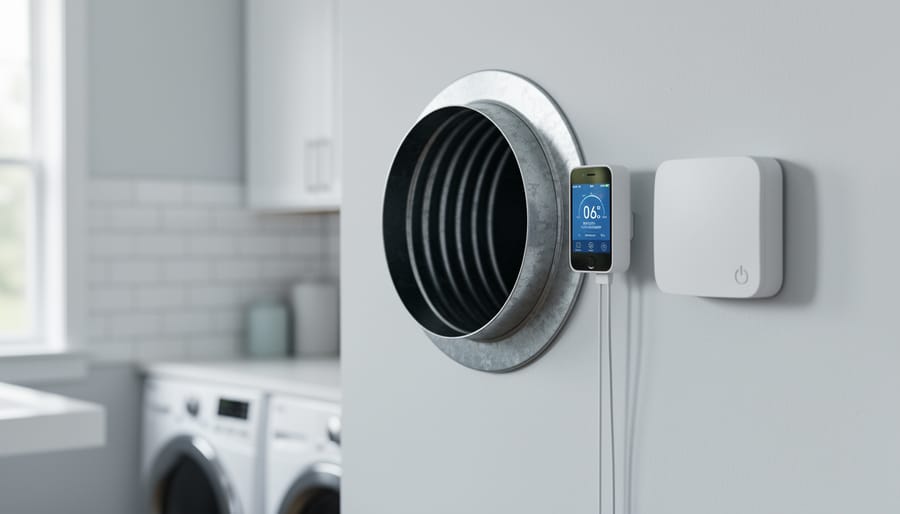
You can monitor a neglected vent in your home by installing a simple temperature and humidity sensor, then connecting it to a smart home platform that alerts you when conditions drift outside safe ranges. The entire project takes about 30 minutes, costs under $25, and works with common platforms like Home Assistant or MQTT. Professional services like dryer vent cleaning Spring Hill FL often recommend this type of monitoring, and it’s one of those IoT projects for home automation that solves a real problem most people ignore until it’s too late.
Here’s the thing: that bathroom exhaust vent, basement air return, or dryer vent tucked behind the laundry room gets checked maybe once a year, if ever. Meanwhile, restricted airflow from lint buildup, condensation from poor ventilation, or blocked ducts can create fire hazards, mold growth, and wasted energy. Professional services see the damage firsthand, but you can catch problems early with a $15 sensor and a weekend afternoon.
This guide walks you through selecting the right sensor for your specific vent type, mounting it securely without damaging ductwork, connecting it to your home automation setup, and creating smart alerts that actually matter. You’ll learn which temperature thresholds indicate blockages, how humidity spikes reveal ventilation failures, and why tracking airflow patterns over time beats any manual inspection schedule.
Whether you’re protecting your family from dryer fires or just tired of guessing when that bathroom fan stops working, this project delivers peace of mind through data. Let’s turn that forgotten vent into a monitored asset.
The Hidden Risks of Unchecked Vents
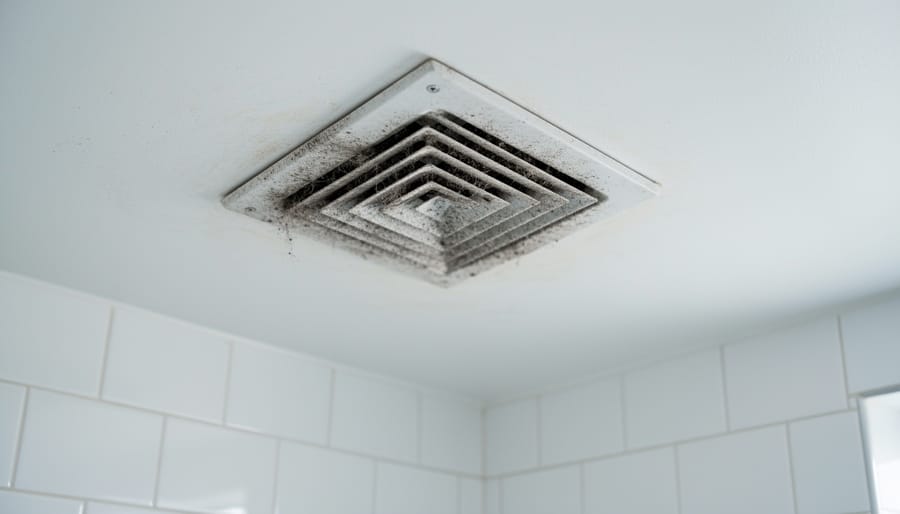
Most of us walk past the same vents every day without a second thought. They’re tucked in bathrooms, hidden in basements, or buried in attics, places we visit only when absolutely necessary. This out-of-sight, out-of-mind approach creates a dangerous blind spot in home maintenance.
When vents go unchecked for months or years, problems accumulate silently. Dust, lint, and debris build up on grilles and inside ducts, gradually restricting airflow. What starts as a minor blockage forces your HVAC system to work harder, burning more energy to push air through narrowed passages. Your utility bills creep upward while comfort levels drop, yet the cause remains invisible behind that forgotten vent cover.
The air quality impact cuts deeper than most realize. Bathroom vents clogged with dust and moisture create perfect breeding grounds for mold spores. Basement vents with restricted airflow trap humidity and stale air, allowing mildew to take hold on nearby walls and stored belongings. Attic vents blocked by insulation or debris cause heat to build up in summer and moisture to condense in winter, potentially rotting roof decking before you notice water stains on your ceiling.
Your HVAC system bears the brunt of neglected vents. Reduced airflow creates pressure imbalances that strain blower motors and compressors, shortening their lifespan by years. A clogged return vent can cause the evaporator coil to freeze, leading to expensive repairs. Range hood vents that no longer exhaust properly leave cooking grease coating your kitchen surfaces and degrading indoor air.
The real problem? Most homeowners only discover these issues after respiratory symptoms appear, energy bills spike dramatically, or visible mold forces action. By then, what could have been prevented with simple monitoring has become a costly repair.
What IoT Sensors Can Monitor on Your Vents
Modern IoT sensors can track a surprising range of metrics that reveal exactly what’s happening inside and around your vents. Here’s what you can measure and why each reading matters for your home’s health.
Temperature is the simplest metric to monitor. A sudden spike in an attic vent indicates poor insulation or ventilation, while unusually cold air from a bathroom exhaust vent in winter might mean it’s leaking conditioned air. Temperature patterns help you spot HVAC inefficiencies before they wreck your energy bill.
Humidity readings are essential for bathrooms, kitchens, and basements. When humidity stays above 60% near a vent, you’re creating the perfect environment for mold growth. A sensor can catch this before you see black spots on the ceiling. It also tells you if your exhaust fan is actually working or just making noise without removing moisture.
Airflow and pressure sensors detect blockages or fan failures immediately. If your range hood sensor shows dropping airflow, the filter needs cleaning. Zero airflow from a bathroom vent means the fan motor died or the duct is crushed. You’ll know about problems in hours instead of months.
Particulate matter sensors (PM2.5 and PM10) measure dust and fine particles in the air. High readings near a return vent suggest your HVAC filter is clogged or nonexistent. Near an intake vent, elevated PM levels might indicate outdoor pollution entering your home or construction dust you didn’t notice.
CO2 monitoring works best on intake and general ventilation vents. Rising CO2 levels signal inadequate fresh air exchange, which affects both comfort and cognitive function. In spaces like home offices or bedrooms, this data helps you know when to boost ventilation.
Each metric transforms a silent system into one that talks to you, flagging problems you’d never spot during a casual walk-through.
Choosing the Right Sensor for Your Vent
Popular Sensor Options for 2026
All-in-one environmental sensors remain the go-to choice for most hobbyists tackling vent monitoring. Devices like the Sonoff SNZB-02D (Zigbee) and Aqara Temperature & Humidity Sensor pack temperature, humidity, and sometimes pressure readings into compact, battery-powered units that pair easily with hubs like Home Assistant or SmartThings. These work brilliantly for bathroom and attic vents where humidity and temperature shifts signal problems. Expect six to twelve months of battery life, and prices typically range from fifteen to thirty-five dollars.
For direct airflow measurement, dedicated differential pressure sensors offer precision that environmental sensors can’t match. The SEN55 from Sensirion combines particulate matter detection with airflow data, ideal for range hoods or HVAC vents where you need to confirm actual air movement rather than infer it from temperature changes. These units cost more, around seventy to one hundred twenty dollars, but deliver actionable metrics.
DIY enthusiasts often build custom solutions using ESP32 or Raspberry Pi Pico boards paired with individual sensor modules. An ESP32 with a BME280 sensor and a Fermion BLE beacon for wireless communication gives you complete control over data logging, alert thresholds, and integration with home automation platforms. Total cost runs twenty to forty dollars, and you gain flexibility to add CO2 sensors, air quality modules, or even small fans triggered by readings. The trade-off is setup time and some soldering or breadboarding work.
Step-by-Step: Installing a Sensor on Your Vent
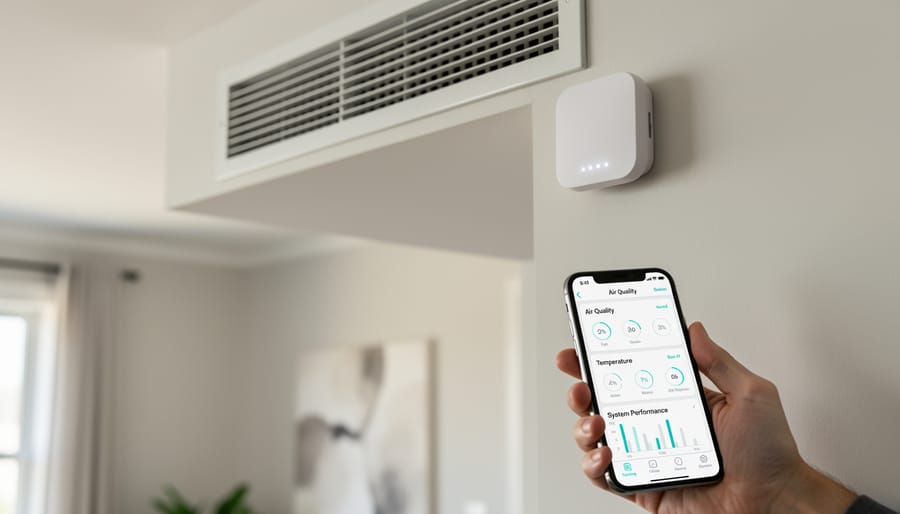
Installing a sensor on that forgotten vent is simpler than you might think, and you don’t need to be an electrician to pull it off. With a clear plan and the right approach, you can have your monitoring system up and running in under an hour.
Start by choosing your target vent. Bathroom exhaust vents, attic vents, and basement air returns are ideal candidates since they’re often ignored but critical for home health. Once you’ve identified the problem spot, gather your materials: your chosen sensor, mounting hardware (adhesive strips, magnetic mounts, or small brackets), your smartphone or computer for configuration, and any necessary power supplies or batteries.
- Turn off nearby electrical circuits if you’re working near any wiring or powered equipment. Safety first, even for battery-powered sensors.
- Clean the mounting surface thoroughly. Dust and grease will prevent adhesives from bonding properly and can interfere with sensor accuracy.
- Position the sensor within 6 to 12 inches of the vent opening, ensuring it won’t obstruct airflow. For temperature and humidity monitoring, mount it slightly to the side rather than directly in the exhaust stream.
- Secure the sensor using your chosen mounting method. Adhesive magnetic strips work brilliantly for metal vent covers, while command strips handle painted surfaces without damage.
- Connect power by inserting batteries or routing a USB cable to a nearby outlet. If you’re using a DIY ESP32 smart home solution, connect your board to power and verify the LED indicators show it’s active.
- Open your sensor’s companion app or smart home platform and follow the pairing process. Most sensors enter pairing mode automatically on first power-up, indicated by a blinking light.
- Calibrate the sensor by letting it stabilize for 15 to 30 minutes in normal conditions. Many sensors self-calibrate, but some require you to set baseline readings for comparison.
- Test the installation by triggering the condition you want to monitor. Run a hot shower for a bathroom vent sensor or turn on your range hood for a kitchen exhaust monitor, and confirm readings change appropriately.
Watch out for condensation if you’re monitoring humid environments. Position sensors where moisture won’t collect directly on the device, and consider models with IP-rated enclosures for damp locations. Never block the vent opening itself or you’ll create the very airflow problem you’re trying to detect.
Once your sensor is mounted and communicating reliably, you’ve transformed a blind spot into a monitored asset. The readings streaming to your phone represent real-time insight into a system that previously operated in complete darkness.
Setting Up Alerts and Automations
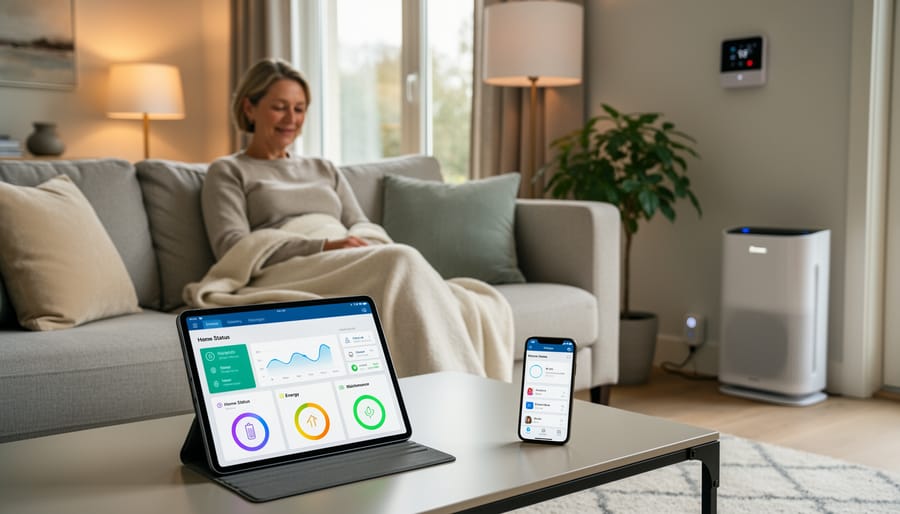
Once your sensor is collecting data, the real magic happens when you set up alerts and automations that respond to what it detects. Most smart home platforms make this surprisingly straightforward, even if you’re new to automation.
Start with simple threshold alerts. In Home Assistant, create an automation that triggers when humidity exceeds 70% for more than five minutes. The notification might read “Bathroom vent humidity high, check exhaust fan.” This catches condensation issues before mold takes hold. SmartThings offers similar logic through its Automations tab, where you can set conditions and actions without writing code.
For temperature anomalies, configure alerts when your attic vent sensor registers readings above 120°F in summer or below 40°F in winter. These extremes often signal insulation problems or blocked airflow that your HVAC system is working overtime to compensate for.
IFTTT shines for cross-platform automations. Connect your vent sensor to a smart plug controlling an exhaust fan: when humidity spikes, the fan automatically runs for 20 minutes. This works brilliantly in bathrooms and laundry rooms where moisture builds up predictably.
Calendar-based maintenance reminders prevent filter neglect. Set an automation that checks your vent sensor’s particulate matter readings weekly. If PM2.5 stays elevated for three consecutive readings, send yourself a reminder to clean or replace the filter. This beats guessing when maintenance is actually needed.
More advanced users can integrate HVAC controls directly. When your basement vent reports rising CO2 or stale air indicators, trigger your ventilation system to increase fresh air intake for 15 minutes. Home Assistant’s Node-RED add-on makes these multi-step automations visual and debuggable.
The key is starting with one automation that solves your most annoying vent problem, then building from there. Each alert you configure transforms passive monitoring into active home management.
Real-World Use Cases from the IoT Community
The IoT community has turned vent monitoring into a creative proving ground for practical home automation. These aren’t theoretical exercises, they’re proven solutions solving real problems.
One popular project involves bathroom exhaust vents paired with humidity sensors. A maker in Portland configured their setup to log humidity spikes after showers and trigger the fan automatically when levels exceeded 65%. After three months of data, they identified a poorly-sealed vent allowing moisture to escape into the wall cavity. The sensor caught what would have become a mold problem.
Attic vents present another compelling use case. A DIYer in Texas mounted temperature sensors near ridge vents and discovered a 15-degree difference between expected and actual readings during summer. The data revealed inadequate ventilation and missing insulation in one section, problems invisible from ground level but costing real money in cooling bills.
Kitchen range hoods rarely get the attention they deserve until they fail. Several community members now monitor airflow with pressure differential sensors, receiving alerts when performance drops below baseline. One hobbyist’s sensor detected a grease buildup that had reduced airflow by 40%, preventing a potential fire hazard.
Basement and crawlspace vents benefit from continuous monitoring too. A member in the Midwest combined humidity and radon sensors on foundation vents, creating a complete environmental picture. The system emails weekly reports and immediate alerts if radon climbs above EPA action levels.
These real-life IoT projects share a common thread: they transform neglected vents into active participants in home health. The best part? Most builders share their configurations and code on GitHub, making replication straightforward for newcomers.
Common Challenges and Troubleshooting
Even the best sensor setup hits snags. Connectivity drops are the most common headache, Wi-Fi sensors struggle in basements or attics with weak signals, while Zigbee or Z-Wave devices need a mesh network repeater within range. If your sensor keeps going offline, try relocating your router, adding a mesh extender, or switching to a protocol with better wall penetration. For battery-powered sensors, cold attics or humid bathrooms drain power faster than you’d expect; check your app’s battery status monthly and keep spares on hand, or invest in a wired sensor for hard-to-reach spots.
Inaccurate readings usually come down to placement. A sensor mounted directly on a hot air duct reads the surface temperature, not the airflow itself, position it a few inches away in the airstream for better data. Dust buildup on sensor grilles skews particulate and airflow measurements, so wipe them down quarterly with a dry microfiber cloth. Condensation in bathroom vents can fog up optical sensors or corrode contacts; look for IP-rated enclosures or apply a thin coating of dielectric grease to exposed terminals.
Why is my sensor reading inaccurate?
Poor placement (too close to heat sources or walls), dust accumulation on sensor openings, or condensation interfering with optical components. Reposition the sensor in open airflow and clean it regularly.
How often should I replace batteries?
Typically every 6-12 months, but extreme temperatures and high reporting frequencies drain them faster. Check your app’s battery indicator monthly.
Can I use this sensor outdoors?
Only if it’s rated IP65 or higher for weather resistance. Most indoor IoT sensors fail quickly when exposed to rain, UV, and temperature swings.
If your sensor flatlines or reports impossible values (like 200% humidity), restart it and recalibrate using your app’s settings. Most platforms let you set offset adjustments if a sensor consistently reads a few degrees or percentage points off. When in doubt, cross-check against a second device before assuming your vent has a problem, sometimes the sensor’s the issue, not the airflow.
Key Insights: Making Invisible Problems Visible
Putting a sensor on that neglected vent does more than generate numbers on a dashboard. It gives you genuine peace of mind. You’ll catch humidity spikes before mold takes hold, spot failing exhaust fans before moisture damage spreads, and identify airflow restrictions before your HVAC system overworks itself into an expensive breakdown. This is why IoT matters in everyday life: small, low-cost sensors prevent problems that cost hundreds or thousands to fix later.
The energy savings add up quickly too. When sensors reveal that a bathroom vent isn’t exhausting properly, you can address it before your heating or cooling system compensates for the trapped moisture. When attic vent sensors show inadequate airflow, you fix ventilation before summer heat bakes your home and winter condensation rots your rafters.
Most importantly, this project transforms a passive home system into an active one. That vent nobody checks becomes a monitored asset. You shift from reacting to disasters to preventing them, armed with real data instead of guesswork.
You don’t need to wire up every vent in your home tomorrow. Pick the one that worries you most, that basement vent you check twice a year, the bathroom exhaust that steams up, or the attic opening you’ve never thought about. Drop a sensor on it, watch what happens, and adjust from there.
That’s the beauty of this project: it scales with your curiosity. Start simple, see real data, then expand to other problem spots as you learn what works. Try different sensor types, tweak your automations, and don’t be afraid to make mistakes. Every reading teaches you something about your home that you couldn’t see before.
Share what you discover. Post your setup, your alerts, your “I finally caught that mold problem early” stories. The IoT Hobbyist community thrives on these practical wins, and your experience helps someone else solve the same invisible problem.
You’re not just monitoring a vent. You’re taking something passive and forgotten, making it speak up, and giving yourself the power to act before small issues become expensive repairs. That’s smart home automation that actually matters.