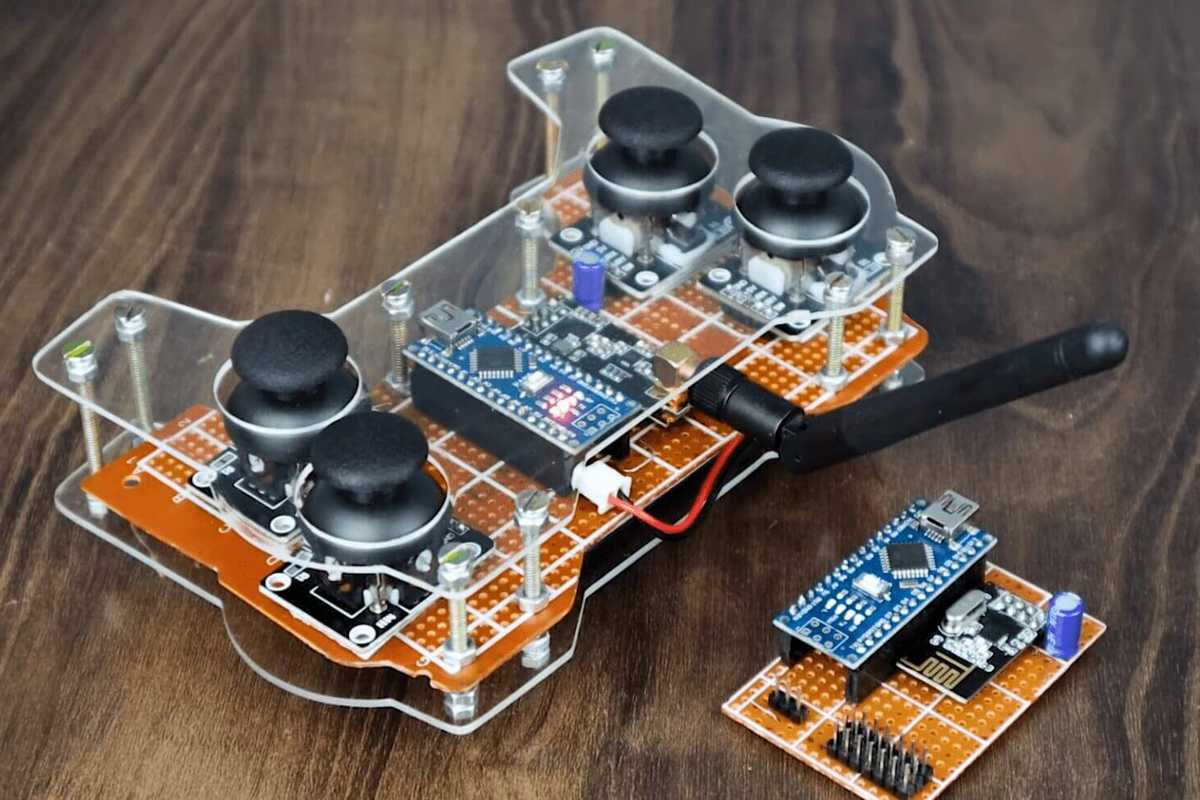
Remote control cars have always captivated enthusiasts with their ability to blend technology and fun. With the advent of Arduino, creating your own remote control car has become more accessible and customizable than ever before.
In this guide, we will walk you through the process of building a remote control car using Arduino.
Getting Started
Before we dive into the construction process, let’s gather the necessary components first. These are as follows:
- Arduino board (such as Arduino Uno or Arduino Nano)
- Motor driver module (like L298N)
- DC motors (two for driving, one for steering)
- Chassis for the car
- Wheels
- Battery pack
- Jumper wires
- Remote control transmitter and receiver modules
- Miscellaneous tools (screwdriver, soldering iron, etc.)
Building the Car
Now that you’ve prepared the materials, it’s time to start building. Here’s a step-by-step process you should follow:
- Begin by assembling the chassis according to the manufacturer’s instructions. Mount the motors securely onto the chassis to ensure proper alignment for driving and steering.
- Connect the DC motors to the motor driver module. Use jumper wires to establish the connections between the motors and the appropriate terminals on the motor driver.
- Attach the wheels to the motor shafts, ensuring they are firmly in place.
- Connect the motor driver module to the Arduino board using jumper wires. Refer to the datasheets and pinout diagrams to make the correct connections.
- Install the battery pack onto the chassis. This way, you can provide power to both the Arduino board and the motors.
- Set up the remote control transmitter and receiver modules. Connect the receiver module to the Arduino board, allowing it to receive signals from the transmitter.
- Write the Arduino code to control the car’s movements. Define the functions for forward, backward, left, and right movements based on the signals received from the remote control.
- Upload the code to the Arduino board and test the functionality of the remote control car. Make adjustments as needed to ensure smooth operation.
Enhancements and Customizations
Once the basic remote control car is operational, you can explore various enhancements and customizations to personalize your creation. Here are some suggestions:
- Add sensors (such as ultrasonic sensors or line-following sensors) to enable autonomous navigation.
- Incorporate Bluetooth or Wi-Fi modules to control the car using a smartphone or tablet.
- Implement additional features like headlights, horns, or a camera for live streaming.
- Experiment with different chassis designs and materials to optimize performance and aesthetics.
- Integrate a GPS module for tracking and mapping capabilities, turning your car into a miniature rover.
Conclusion
Building a remote-controlled car with Arduino is not only a fun and rewarding project but also a great way to learn about electronics, programming, and robotics. By following this guide and unleashing your creativity, you can create a customized vehicle that reflects your interests and skills.
So, gather your tools, unleash your imagination, and start building your own remote control car today!

